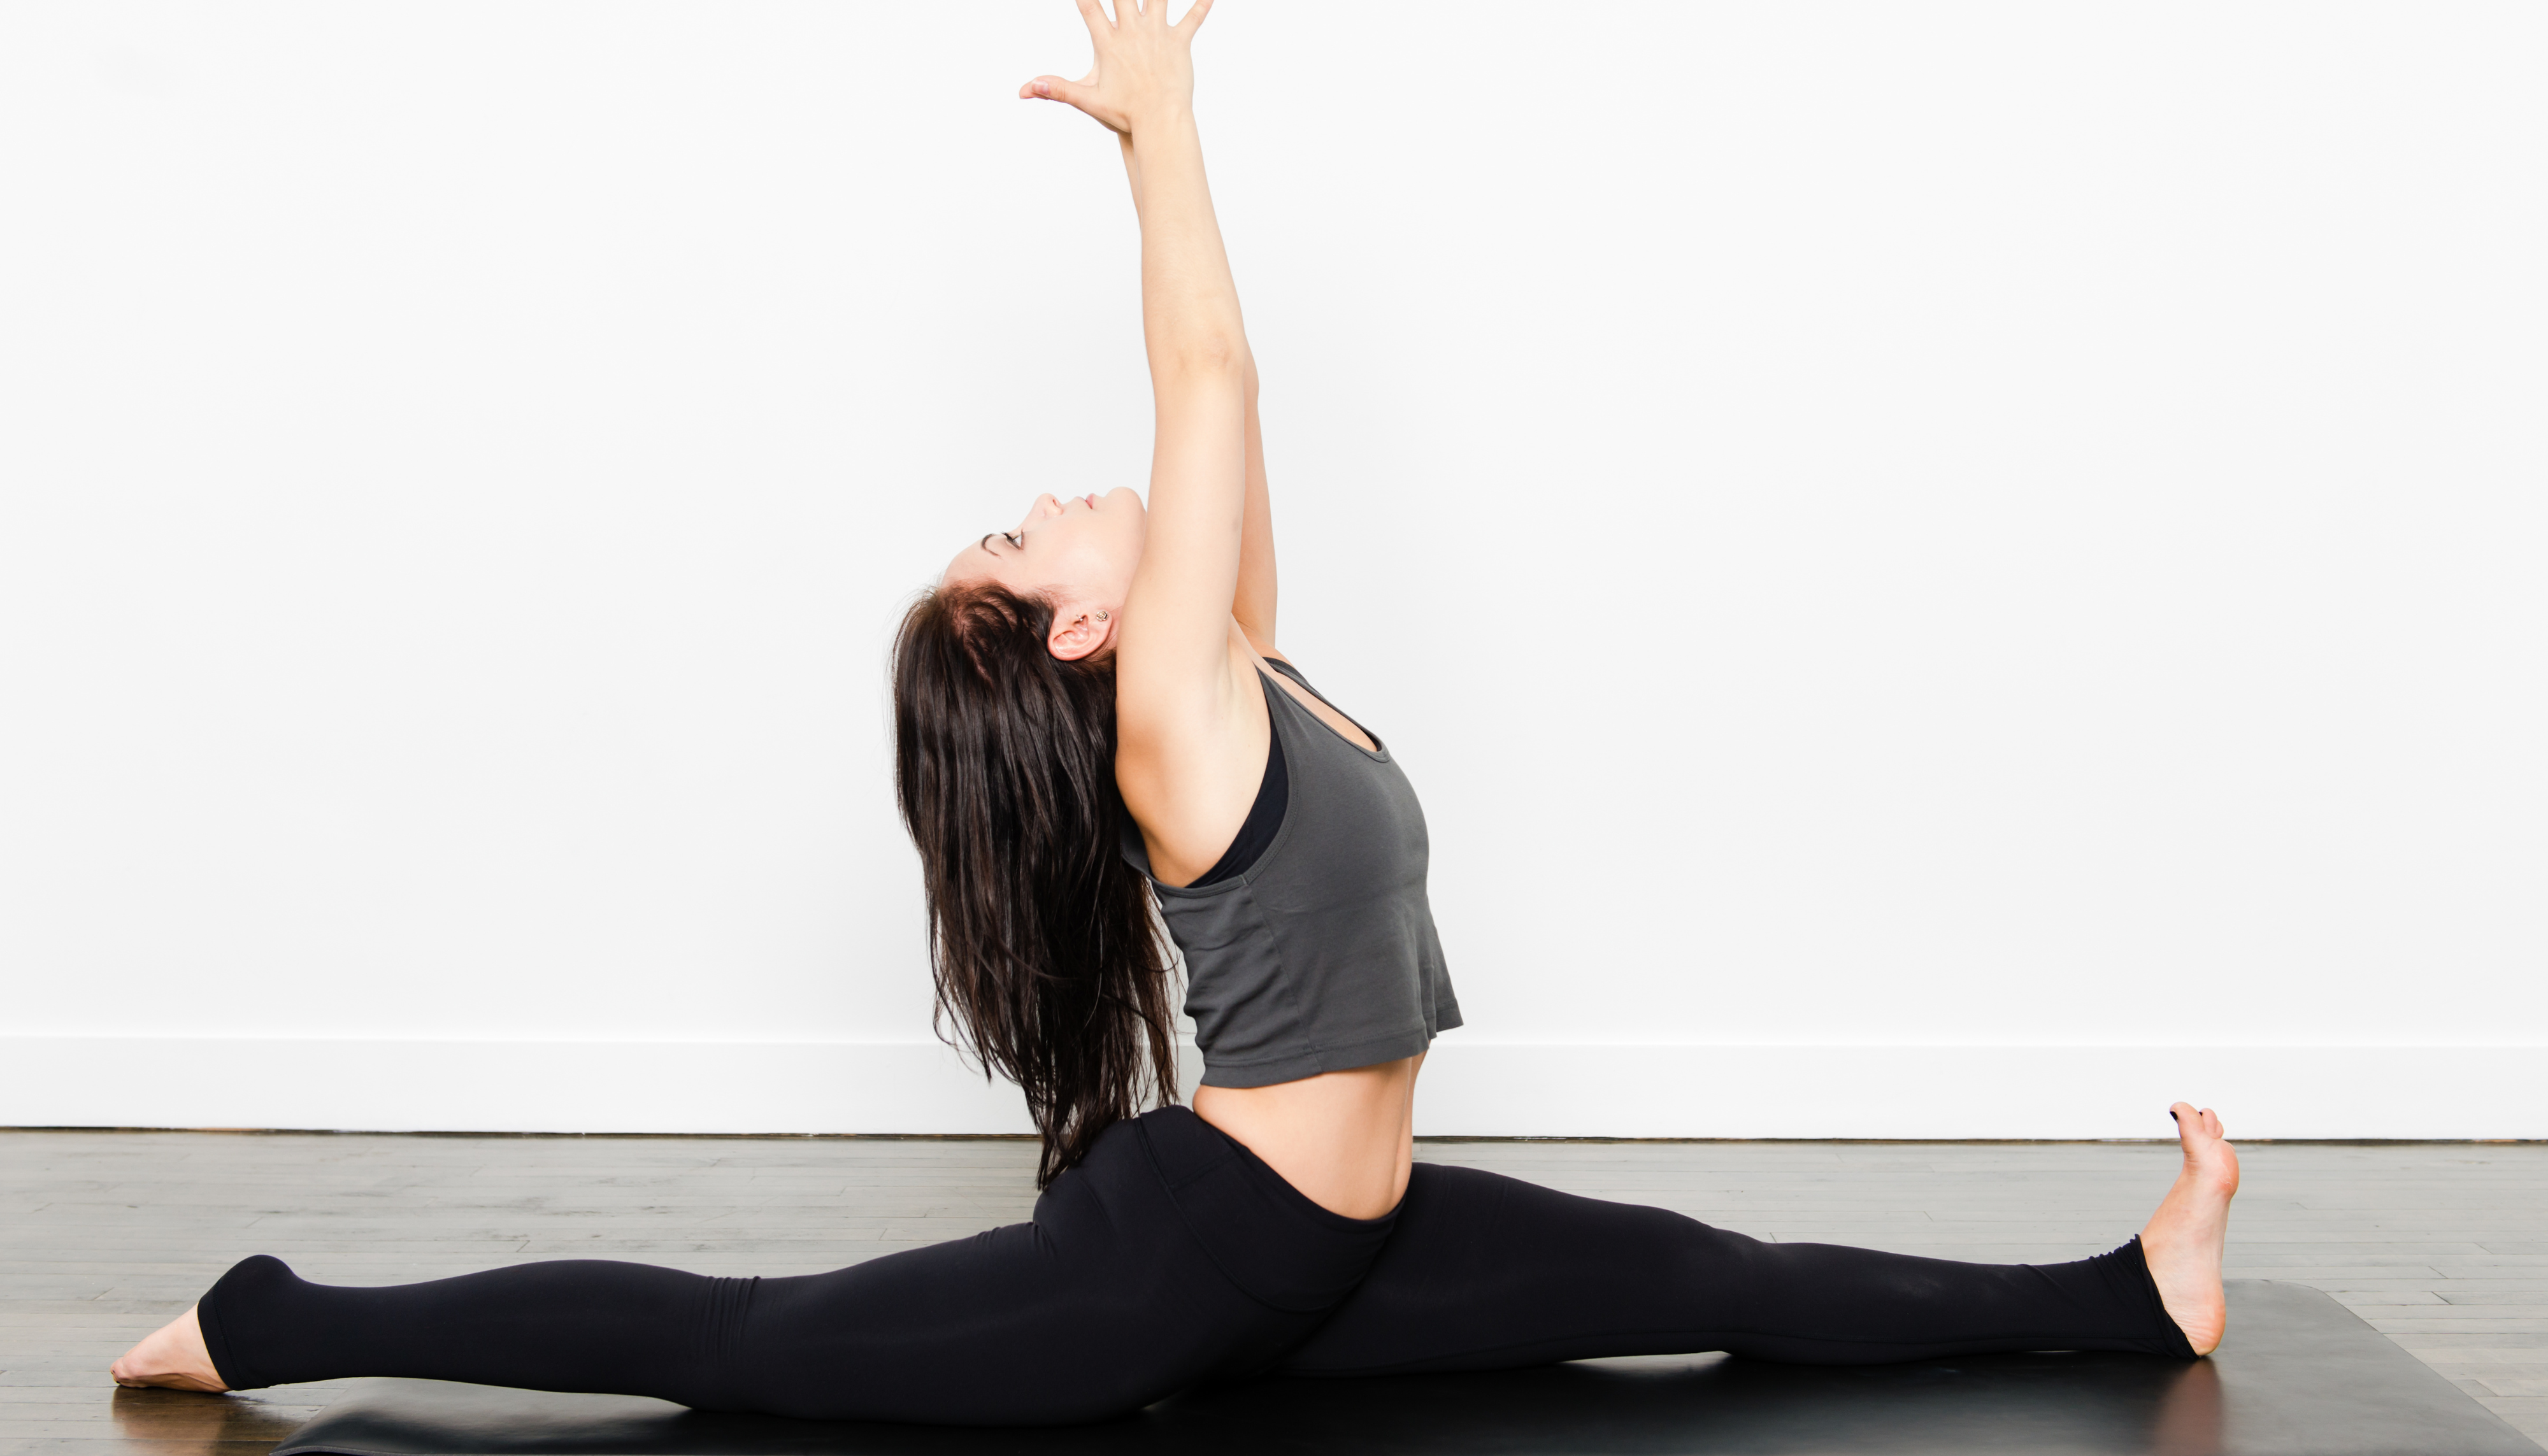
When you first start stretching, you may not notice improvement immediately. Progress can be subtle, such as rotating your neck a degree further or stretching an extra millimeter. The best way to track your success is by setting a definable goal, like mastering the splits.
Why You Should Learn the Splits
Reduced Lower Back Pain
Learning how to do the splits can significantly benefit your body. They help alleviate hip and lower back pain by stretching and loosening tight muscles in these areas. As a result, pressure is relieved, reducing the need for pain medications or treatment.
(Stretching should complement medical care, not replace it. Consult your doctor if you have any concerns.)
Better Mobility and Range of Motion
Every muscle in your body is interconnected. By improving your flexibility through splits, you’ll find it easier to bend over, sit up straight, and move more easily.
Splits Are a Fun Party Trick
Want to impress your friends in 2025? The splits are a great way to showcase your flexibility and fitness. Whether you’re imitating a celebrity or proving that age is just a number, the splits make for a fun and impressive feat.
Types of Splits
Right and Left Splits
Known as front splits, these involve extending one leg forward and the other backward, with both legs pressing against the floor and your torso upright.
(Fun fact: Over-splits, where your legs stretch beyond 180 degrees, require additional equipment and should be attempted with caution.)
Middle Splits
Also called straddle splits, these involve stretching both legs out to the sides while maintaining an upright posture.
Muscles Involved in the Splits
Splits engage multiple muscle groups, including:
- Hip flexors
- Adductors
- Glutes
- Hamstrings
- Groin muscles
WeStretch routines also focus on stretching supporting areas like feet, ankles, and lower legs.
Stretches for the Splits
Lunges
Lunges effectively stretch and strengthen the muscles needed for splits. WeStretch offers various lunges, such as deep lunges and twists, to enhance flexibility and mobility.
Touching Your Toes
This stretch loosens your hips and lower back, making it easier to achieve the splits. WeStretch incorporates toe touches with variations to enhance flexibility.
Straddle Sit
Sitting in a straddle position builds core strength and stretches hip and thigh muscles. Gradually increasing the stretch over time helps in achieving middle splits.
Seated Twist
This stretch improves torso and hip flexibility, aiding split performance and enhancing posture.
Pigeon Pose
A well-known yoga pose, pigeon pose deeply stretches tight hip muscles, which is essential for splits training.
Flexing/Pointing Your Toes
Keeping your feet and ankles flexible prevents cramping and enhances the visual appeal of your splits.
How WeStretch Helps You Achieve the Splits
WeStretch’s split routines start with brief 2-second poses to warm up the body. Gradual increases in hold times (5-30 seconds) help deepen your stretch without risking injury or fatigue.
Each stretching session is unique and customized in real-time based on your flexibility level. You can find split-specific routines under the dance category in the activity customization section of the app.
Tips and Tricks for Gaining Your Splits
Progress Takes Time
Much like other fitness goals, achieving splits requires consistency. Commit to at least one 10-20 minute stretching session daily to see results.
Warm Up Before Stretching
Warming up with light exercises or a hot bath can enhance flexibility and help prevent injuries.
Everyone’s Flexibility Is Different
Some people progress faster than others, and that’s perfectly fine! Celebrate small victories and keep going.
Maintain a Healthy Lifestyle
Good sleep, hydration, and proper nutrition aid muscle recovery and help you achieve your stretching goals more effectively.
Stop If It Hurts
Listen to your body. If you experience pain, stop immediately and apply ice or heat as needed. If pain persists, consult a healthcare professional.
Stretching is generally safe, but overexertion can lead to injury. Be mindful of your limits and progress gradually.
Get Started Today!
Now that you know how to achieve your splits, it’s time to begin! Download the WeStretch app today and take your flexibility to the next level in 2025!
Any links included are for reference, additional information, or entertainment value only, without monetary compensation. Contact us on social media or at [email protected]. Photos courtesy of Unsplash.
This article is not intended to act as or replace medical advice. Please talk to your healthcare practitioner if you have any concerns.
Written by Kayla Willsey
Updated June 2, 2021


